Unit 08 - Modeler
The Graphical Modeler allows creating, editing, and managing complex models in an easy-to-use graphical user interface. Using the Graphical Modeler, a chain of tools (ie. GRASS tools) can be wrapped into one process (a model). A model can be executed repeatedly with slightly different inputs or parameters.
Our first model will be based on Unit 05 - Raster processing. Actually the model will perform two operations:
Graphical Modeler can be launched from menu or by  Graphical Modeler
from the main toolbar (or alternatively as g.gui.gmodeler
tool from console).
Graphical Modeler
from the main toolbar (or alternatively as g.gui.gmodeler
tool from console).
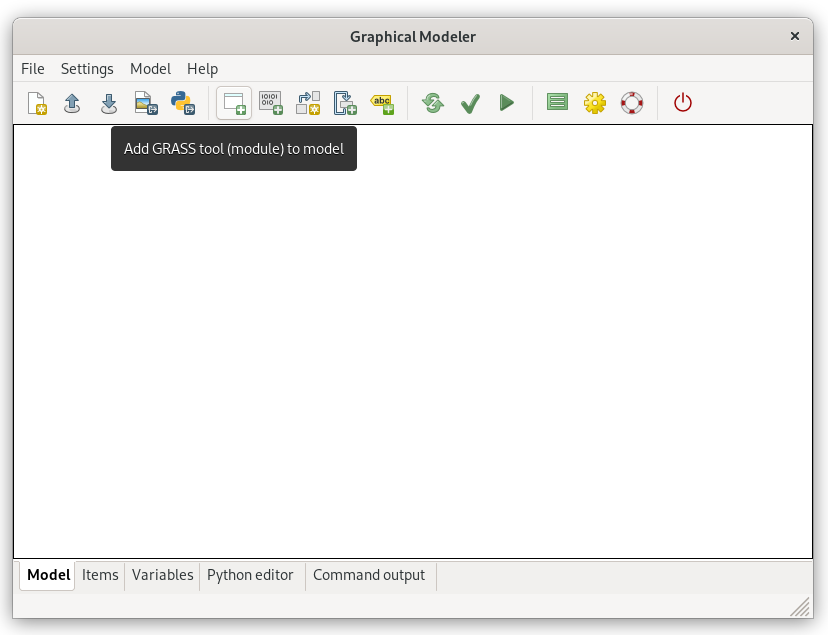
Fig. 49 Graphical Modeler.
GRASS tools can be added to the model from menu
or by  Add GRASS tool (module) to model from the main toolbar.
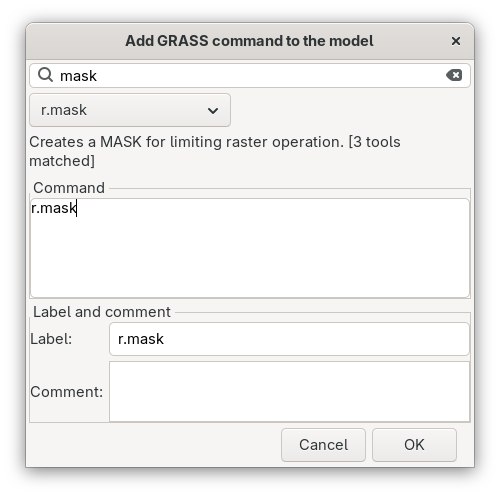
Fig. 50 Add GRASS tool (tool) to model, in this case r.mask.
Important
Graphical Modeler sometimes has a problem with rendering
the model. In this case it helps to redraw model canvas by
 Redraw model canvas.
After adding r.mask tool to the model let’s open its properties dialog by double-click and enter vector map to be used as a mask. Don’t forget to enable inverse mask by -i flag in Create tab.
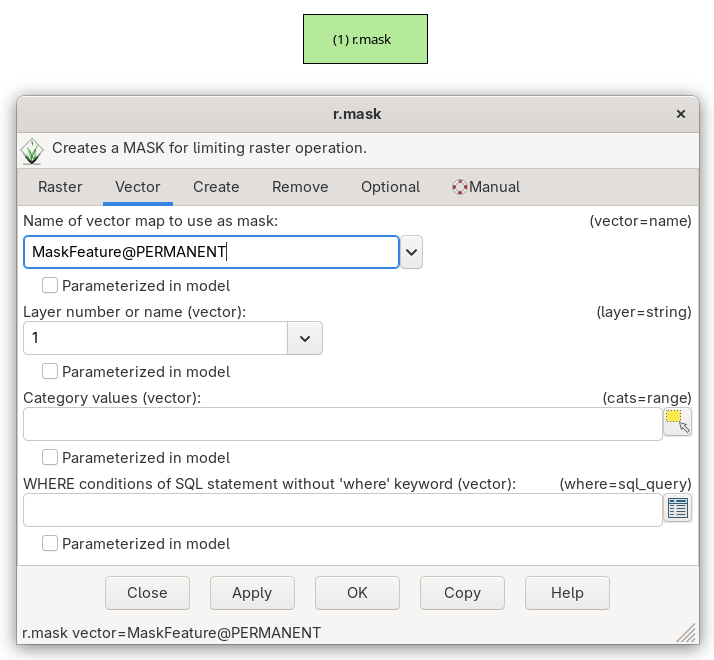
Fig. 51 Define parameters for r.mask, a vector map used for creating a mask.
In similar way will be added to model the i.vi tool. Properties dialog for this command is open automatically because there are required options which must be set.
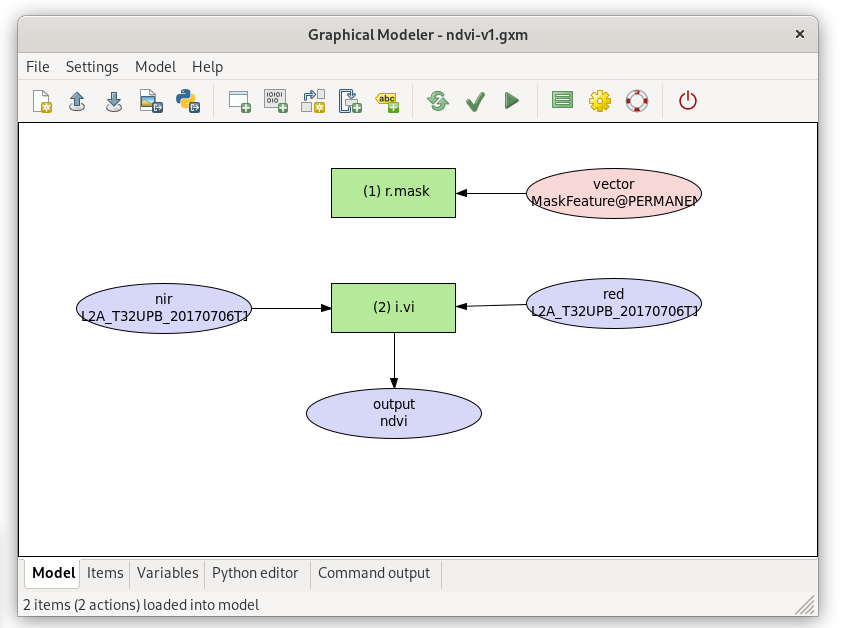
Fig. 52 NDVI model version 1.
It’s a good idea to set metadata for the model and enable overwriting data produced by model (). Resultant NDVI raster map may be also shown automatically in the map window.
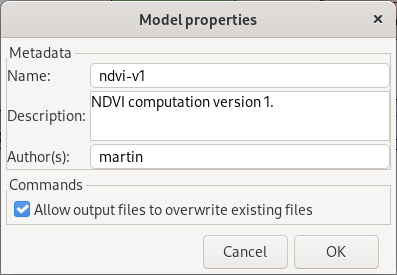
Fig. 53 Define model properties and enable overwriting data produced by model.
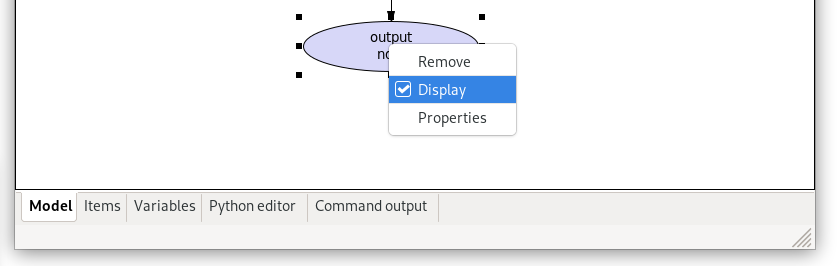
Fig. 54 Set the output raster map to be automatically displayed in the map window.
Now let’s run our model by  Run model. Progress
is printed into Command output.
Run model. Progress
is printed into Command output.
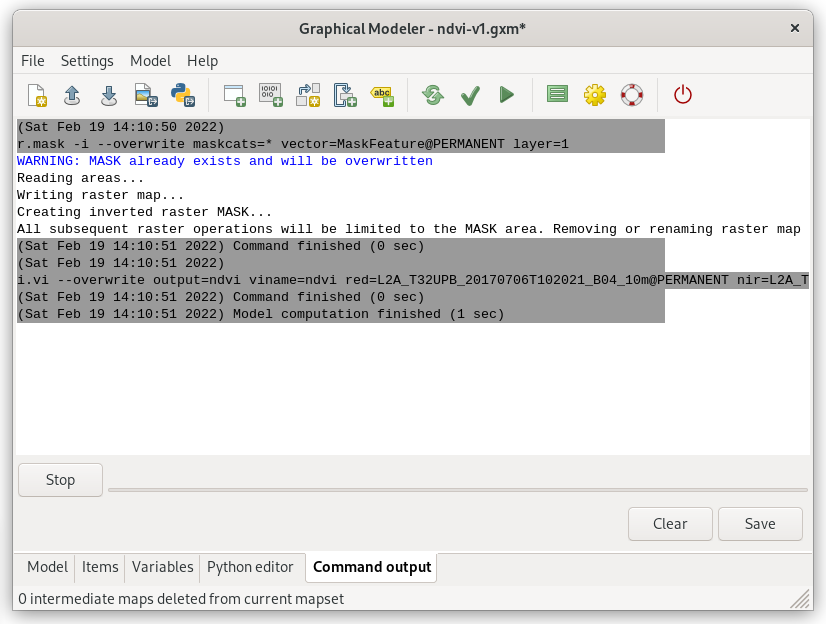
Fig. 55 Model computation progress.
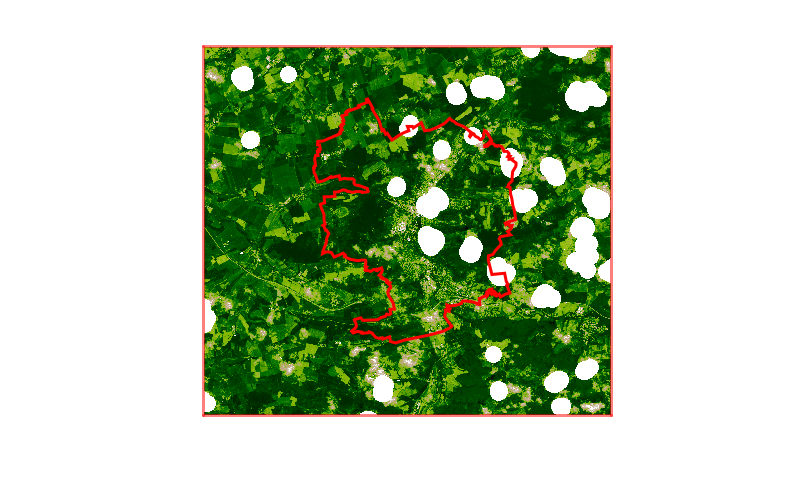
Fig. 56 NDVI raster map computed by the modeler.
Task
Run the model repeatedly using different computation regions.
Tip
Current computation region can be changed easily by Set
computation region extent interactively from  Various zoom options in Map Display.
Fig. 57 Change computation region before running the modeler.
Important
Before changing the region it’s a good idea to remove mask if exists.
r.mask -r
Sample model to download: ndvi-v1.gxm